How to Grow Flowers From Seed
Learning to grow flowers from seed indoors is a great way to get a head start on the growing season and grow healthy plants for your cut flower garden.
Growing your cut flowers from seed is not only an enjoyable experience, but it can also be a cost-effective way to establish a beautiful garden. You can quickly grow various plants for your cut flower beds with the proper materials and care.
The options are endless, from annual flowers to perennial flowers, and the satisfaction of watching your plants grow from seed to bloom is gratifying.
With some planning and attention to detail, you can create a stunning garden that provides fresh-cut flowers throughout the growing season.

Cutting Garden Flower Seeds
Winter can feel like an eternity for gardeners eager to get their hands back in the dirt. But did you know that starting flower seeds is a great way to scratch that gardening itch and get a head start on the growing season?
By growing flowers from seed, you can take advantage of the colder months to grow healthy plants for the spring and early summer.
In this blog post, I walk you through how to plant flower seeds indoors, giving you the tools and knowledge you need to grow flowers for a cut flower garden.
I will also give you a list of the best flowers to start from seed.
Whether an experienced gardener or a first year beginner, starting seeds is a great way to jump-start your garden this year.
For more in-depth guides on growing a cut flower garden, read these posts:


The Basics of Starting Flower Seeds Indoors
Growing flower seeds is an excellent way to get your cutting flower garden off to a great start for the season.
This is the most cost-effective way to fill a cutting garden quickly. However, there are a few points to remember before you begin.

Containers
Depending on your preference and availability, you can start flower seeds in various containers. Here are some options to consider:
- Seed Starting Trays: These are specially designed for seed starting and usually have individual cells with drainage holes.
- Peat Pots: These biodegradable pots are made from peat moss and can be planted directly into the ground along with the seedling.
- Eggshells: These provide a natural and biodegradable container for starting seeds.
- Recycled Containers: If drainage holes exist, you can use yogurt cups, plastic bottles, or takeaway containers.
- Jiffy Pellets: These small, compressed soil discs expand when soaked in enough water, supplying an easy way to start seeds.
- Newspaper Pots: These can be made by folding newspapers into pots and filling them with soil.
Regardless of the container you choose, make sure it has drainage holes to prevent overwatering and provide proper air circulation.
Also, ensure that the container is clean and sanitized before use to prevent the growth of harmful bacteria. If you are reusing pots, wash them thoroughly with a bleach-water solution to kill any lingering diseases.

Drainage Trays and Humidity Domes
Other than containers for the seeds, you will also need drainage trays. These hold the pots and catch extra water, so the roots are not waterlogged. Drainage trays can also help you move the plant around easily.
Another helpful thing is a humidity dome, which keeps the seeds moist and warm so they can germinate quickly.
Various seed starting sets are available, ranging from expensive, long-lasting options to more affordable ones. You can choose from various options depending on your budget and needs.
Expensive sets usually come with high-quality materials lasting several years, including a durable seed tray, domes, and heat mats.
- Extra Strength Tray for Propagation Seed Starter
- Humidity Dome Tall Extra Strength for Seed Starting
- 50 Cell Seedling Trays Extra Strength
- Extra Strength Seed Starter Kit
On the other hand, cheaper sets may include seed cell trays and pots, which may not last as long but can still get the job done.
Ultimately the type of seed starting set you choose will depend on your personal preferences, budget, and the number of seeds you plan to start.


Choose a Good Soil
Choosing the right soil is important. Soil sets the foundation for the growth and development of your plants.
When starting flower seeds, the starting medium plays a big role in developing healthy seedlings. It is essential to choose a light and fluffy medium that has plenty of perlite, as it provides excellent aeration and drainage.
Investing in a good quality starting medium. Cheaper options seem appealing but often contain synthetic fertilizers and bark, which can burn or stunt young plants.
It is also important to purchase a high-quality medium from a reputable company, ensuring it is free of pests, weed seeds, and other harmful pathogens.
Several excellent options for seed starting are FoxFarm’s Light Warriour Seed Starter or Lucky Dog K9 Kube. Both of which are popular among gardeners.
However, regardless of your chosen medium, ensure it has plenty of perlite to promote healthy root development.
Remember, the starting medium is the foundation for healthy and strong plants. So it is worth investing in a good quality one for the best results.


Provide Bottom Heat
Providing bottom heat helps grow flowers from seeds indoors. Many seeds require warm soil temperatures to germinate. Bottom heat can provide the extra warmth they need.
You can use a seedling heat mat to deliver consistent heat to the seeds. It is important to remember that providing too much heat can harm your plants.
Follow the instructions on your heat mat and regularly monitor the soil temperature with a soil thermometer. Seeds typically begin to grow when the soil temperature ranges from 68 to 86 degrees.
Provide Light
Providing adequate light is crucial for successful indoor seed starting. While a sunny windowsill may seem ideal, it often does not provide enough bright light for seedlings to grow properly.
Instead, consider using artificial lights such as LED grow lights. These lights provide the full spectrum of light that plants need to grow and thrive.
Grow lights can be set up in various ways depending on the size and number of plants you are growing.
A homemade seedling setup is a great alternative for those who don’t have access to a greenhouse or specialized equipment. All you need is a warm indoor space and a set of lights to provide the necessary light for your growing seedlings.
When it comes to grow lights for starting flower seeds, you want a full-spectrum light that mimics natural sunlight.
Whichever type of grow light you choose, position it about 2-3 inches above your seedlings. Keep the light on for 12-16 hours per day. You can adjust the height of the light as your plants grow to ensure they are getting the right amount of light.
By providing the right amount of light, you can ensure your tray of seedlings grows strong and healthy before being transplanted outdoors.

Supplies Needed for Growing Flowers from Seed
To start flower seeds indoors, you will need the following supplies:
- Seed Starting Trays or Pots: You can use plastic or biodegradable seed starting trays or pots. Make sure they have good drainage holes to prevent waterlogging.
- Seed Starting Soil: Use a sterile seed starting mix to avoid soil-borne diseases.
- Seeds: Choose high quality seeds from a reputable source.
- Grow Lights: Artificial grow lights provide adequate light for your seedlings.
- Watering Can or Spray Bottle: You need something to water your seedlings gently.
- Labels: Use plant labels to label the seed trays or pots with the plant variety and the date you planted the seeds.
- Heating Mat: A heating mat can help speed up the germination times.
- Plastic Humidity Dome: A humidity dome can help retain moisture and promote germination.
- Fertilizer: It is optional to fertilize your seedlings, but for the best results, begin feeding with Big Bloom within five days. Once the seeds are germinated, begin feeding with Grow Big.

How to Easy Grow Flowers From Seeds
A designated workspace for seed starting is lovely as it creates an efficient and successful flower seed planting.
Your workspace with a sturdy work surface should be comfortable indoors or outdoors. It is helpful to keep your necessary supplies organized and easily accessible.
Here is how to grow flowers from seeds indoors.

1. Sanitize Trays and Pots
If you plan to reuse pots or leakproof trays for starting seeds indoors, it is important to sanitize them beforehand.
This step is essential to prevent the spread of disease and ensure that your plants grow healthy and strong. Failing to sanitize your seed starting trays can result in harmful pathogens that can affect your seedlings’ growth.
You can create a simple sanitizing solution by mixing warm water with a small amount of bleach or distilled vinegar. A dash of dish soap can also be added to the solution if there is any buildup on the trays or pots.
After preparing the sanitizing solution, carefully scrub the trays or pots to remove dirt or debris. Rinse the trays thoroughly with clean water to remove any residue from the sanitizing solution.
Finally, allow the trays or pots to air dry completely before starting your seeds.

2. Moisten Soil
Before planting your seeds, it is important to moisten the potting soil properly.
To do this, moisten the soil with warm water. When squeezed, the soil should be damp enough to hold together but not so wet that water drips out.


3. Fill Seed Trays
After moistening your potting soil, it is time to fill your seed trays or pots.
Fill the container to the top, ensuring the soil is level and there are no gaps or air pockets. Once the trays or pots are filled, gently tap them onto the table or flat surface.
This tapping action helps settle the soil and remove any remaining air pockets, which can impede root growth and lead to unhealthy plants.

4. Create Labels
Labeling your seed trays with the variety name of the seed and the sowing date is important. This will help you keep track of your plants as they grow and ensure you know what you are planting.
I recommend using a pencil for labeling, as it will not fade like a sharpie or pen in the sun or if it gets splashed by water. This way, you can be sure that your labels will stay legible throughout the growing season.
Labeling your seedlings properly can save you a lot of confusion and frustration later on. So, be sure to label them clearly and accurately.

5. Make Holes for the Flower Seeds
When planting flower seeds, it is important to check the flower seed packets for instructions on how deep to plant them. Depending on the seed type, the packet will tell you how deep to plant the seeds.
A general rule of thumb to remember how deep to plant the seeds is to plant them twice as deep as their longest side.
To make holes for the flower seeds, poke a hole in the soil of each cell or pot using your finger or a pencil. The hole should be as deep as the instructions on the seed packet say to plant the seed.


6. Plant Seeds
It is recommended to drop 1-2 seeds into each hole to plant flower seeds. Some seeds are tiny, while others are larger and more visible, making them easier to plant.
Planting tiny seeds can be tricky, but you can use a few tips and tricks to make it easier.
One option is to use a bamboo skewer or toothpick to pick up the seeds and place them into the soil. To do this, dip the tip of the skewer or toothpick into a small dish of water to moisten it.
Then, touch the top of the tiny seed to pick it up. Place the seed gently into the soil, ensuring it is at the appropriate depth.

7. Cover Seeds
After placing the seeds in the soil, cover them with a small amount of potting soil or vermiculite according to the instructions on the seed packet.
Be careful not to bury small seeds too deeply. Some tiny seeds are grown best by sowing them on top of the soil, so read the seed packet for instructions.

8. Moisten Soil
After you sow seed, place the seed trays in a larger plastic tray with about an inch of water at the bottom. This will allow the soil in the seed trays to soak up the water from below.
Once the soil surface appears to be evenly moist, remove the seed trays from the larger tray and empty out any remaining water.

9. Add Humidity Dome and Heating Mat
After sowing the seeds and watering, cover the seed trays or pots with clear acrylic dome lids and place them on a 70-degree heat mat.
The heat mat will help to promote germination. The seeds will usually sprout before the next watering is needed, but check the soil moisture level after 2 to 3 days. If the soil is dry, water the trays from the bottom again.
Bottom watering has multiple benefits when starting seeds. It allows you to avoid disrupting or displacing tiny seeds while encouraging the young seedlings to send their roots down in search of water.
This will help to create a stronger and more resilient root system in the long run.

10. Remove Humidity Dome
After the seedlings emerge from the soil, remove the plastic dome. If you use grow lights, ensure they are at the right distance from the seedlings.
Keep an eye out for “legginess,” which is when the plant is stretching for light and needs more. If your plant is leggy, consider getting additional grow light to help.
If the grow lights are too close to the seedlings, they could burn, so keep them at a proper distance. And remember to keep the soil moist but not too wet.
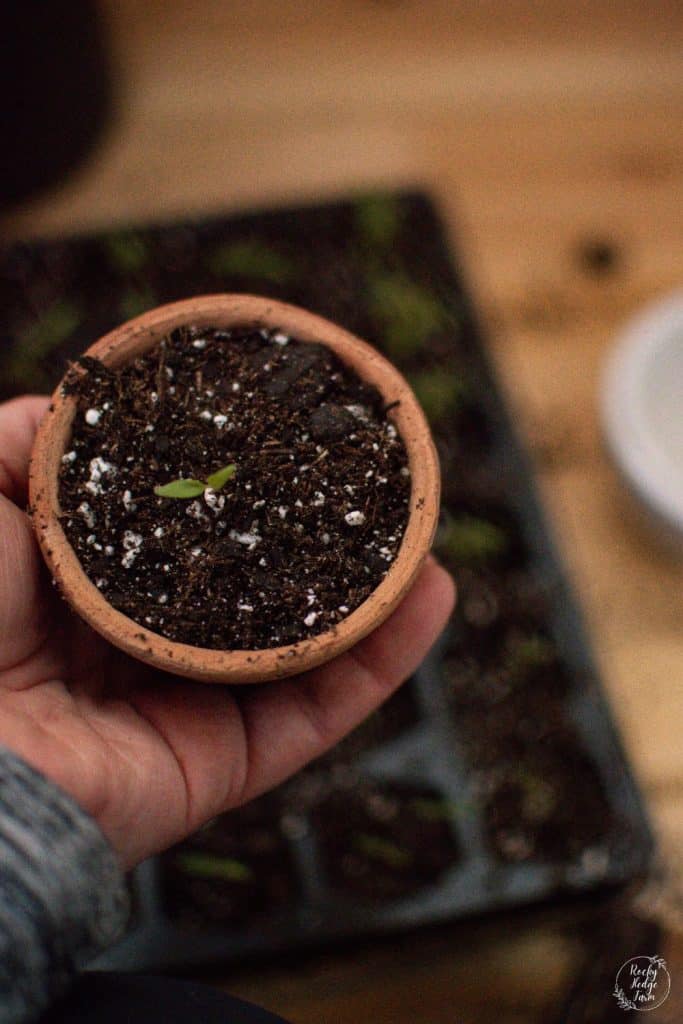
When you see the first leaves growing from your seeds, they are called cotyledons. After these initial leaves, the true leaves will start to grow. You should continue to water the soil from the bottom until the true leaves appear.

11. Check Seedlings Daily
Check your seedlings daily. When the soil starts to dry out, gently water them with a spray bottle or watering can.
12. Fertilize
After the seedlings have been growing, you can begin giving them fertilizer. One option is liquid seaweed and fish emulsion or a pre-made fertilizer such as FoxFarms Big Bloom or Grow Big.
It is important to follow the instructions on the label and dilute the fertilizer accordingly.


13. Repot or Harden Off and Transplant
When the seedlings have outgrown their trays or pots, it is time to transplant them into larger containers. This is important so the plants have enough space for their roots to grow. This promotes healthy growth and development.
Alternatively, if the weather is warm enough and there is no risk of frost, you can begin transitioning the plants outside.
To prepare seedlings for transplanting, begin by hardening off the plants. This involves gradually exposing them to the outdoor environment, starting with a few hours a day and gradually increasing.
This help to acclimate the plants to full sun, wind, and other outdoor conditions.
If the weather suits for transplanting, prepare the soil in the garden bed by loosening it and removing any weeds or debris.
Dig a hole slightly larger than the seedling’s root ball and carefully place the plant in the hole, ensuring it is at the same level as it was in the container.
Gently backfill the hole with soil, firming it around the plant.


14. Enjoy Fresh Cut Flowers
Enjoying fresh-cut beautiful flowers from your cutting garden is one of the many pleasures of growing your flowers from seeds.
After planting, nurturing, and tending to the flowers, cutting them and bringing them inside for fresh-cut floral bouquets is incredibly rewarding.

What is the Easiest Flower to Grow From Seed?
Here are some of the easiest flowers to grow from seed, perfect for beginner gardeners. In my cut flower garden, I have successfully started these flowers from seeds:
- Flowering Tobacco – Showy white flowers, this stunning plant is ideal for mixed borders. Flowering for many months, it fills the air with a sweet, jasmine-like scent. (Floret)
- Black Eyed Susans – These abundant bloomers of large, primarily double, velvety flowers are a blend of dusty rose, milk chocolate, copper, pale lemon, and rich merlot. (Floret)
- Celosia – a long-lasting cut flower, often lasting over two weeks. The Vintage Rose Mix is a blend of blush, pewter, and sunbleached velvet set against striking dark foliage. (Floret)
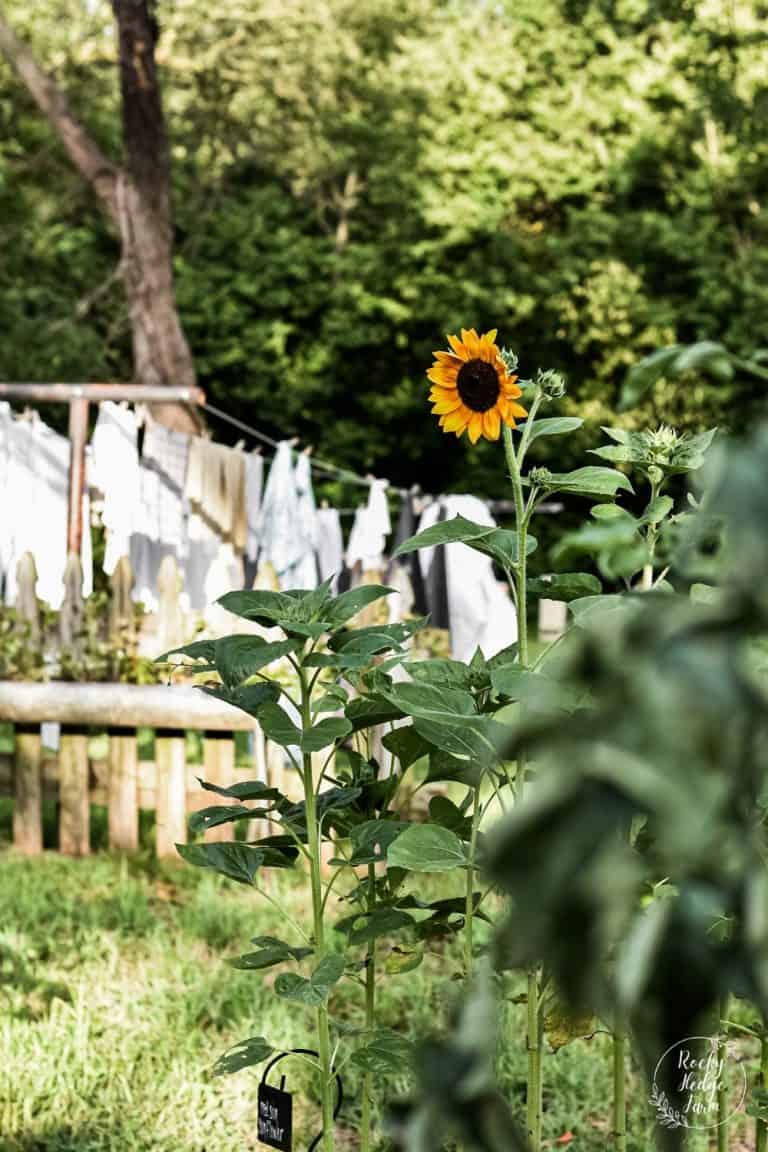
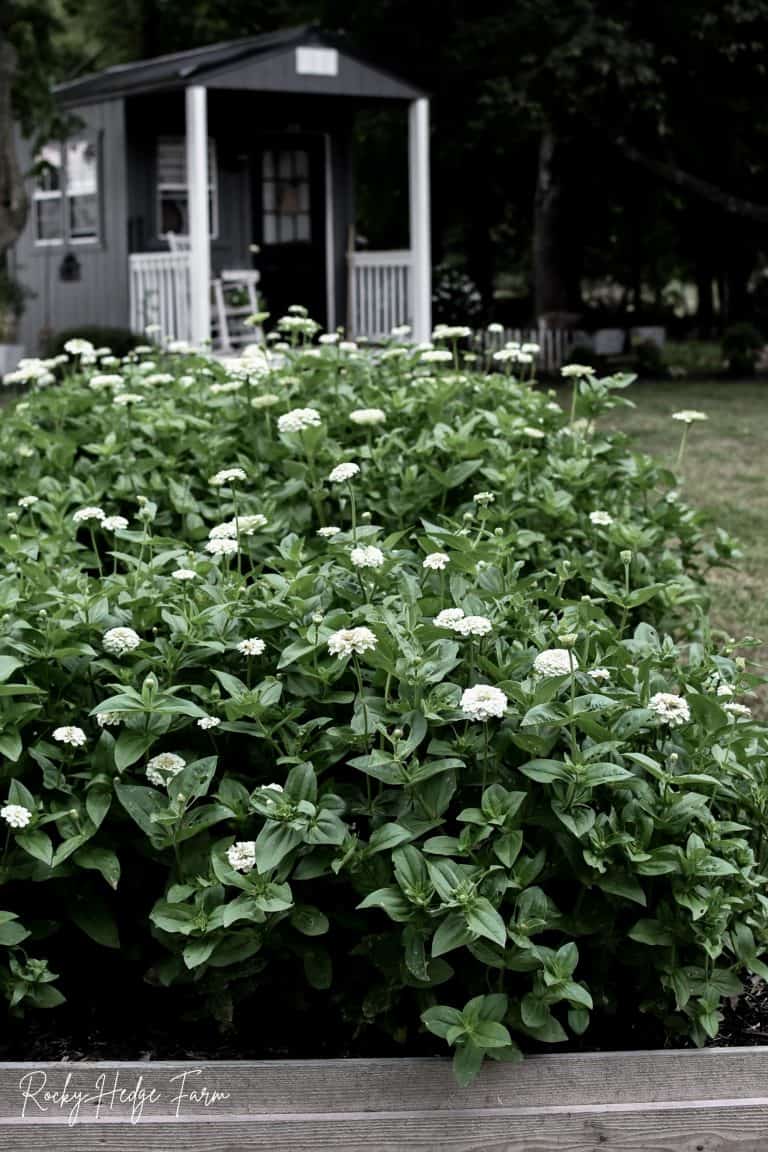
Sunflowers, zinnias, calendula, and cosmos are the easiest growing annuals from seed you can grow. In my experience living in Missouri, which has a longer growing season than some other regions, I typically direct sow these common annuals in my cut flower garden.
However, if you live in an area with a short growing season, you can still grow these flowers by starting the seeds indoors in trays. Then, later transplanting them outdoors when the weather warms up.

Which Flowers Grow Easily from Seeds?
Many flower gardeners prefer to start their garden with seeds and several different varieties are particularly popular. These include Sweet Peas, Morning Glory, California Poppies, Sweet Alyssum, Bachelor Buttons, and Annual Phlox.
While I do not have personal experience growing these varieties from seed, they are worth considering if you want to add color and fragrance to your garden.

When to Plant Flower Seeds
The ideal time to plant flower seeds indoors can vary depending on the specific flower variety and your location. In general, you should start seeds indoors about 6-8 weeks before the last frost date for your area.
This will give the seedlings enough time to grow and develop into healthy plants that can be transplanted outdoors after the danger of frost has passed.
How Long Does it Take to Grow Flowers From Seeds?
The time it takes for flowers to grow from seeds depends on several factors, including the type of flower, the growing conditions, and the climate.
Generally, most flowers will take a few weeks to several months to grow from seed to full maturity and start blooming.

Growing your flowers from seed indoors in trays can be a great way to jump-start your cut flower garden.
Starting your seeds indoors allows you to control the temperature, light and moisture to create optimal growing conditions. This can help to improve your chances of success and produce healthy, vigorous plants that will thrive in your garden.
With patience and care, you can grow a stunning array of flowers from seed and enjoy the beauty and fragrance of your flower garden all season.
