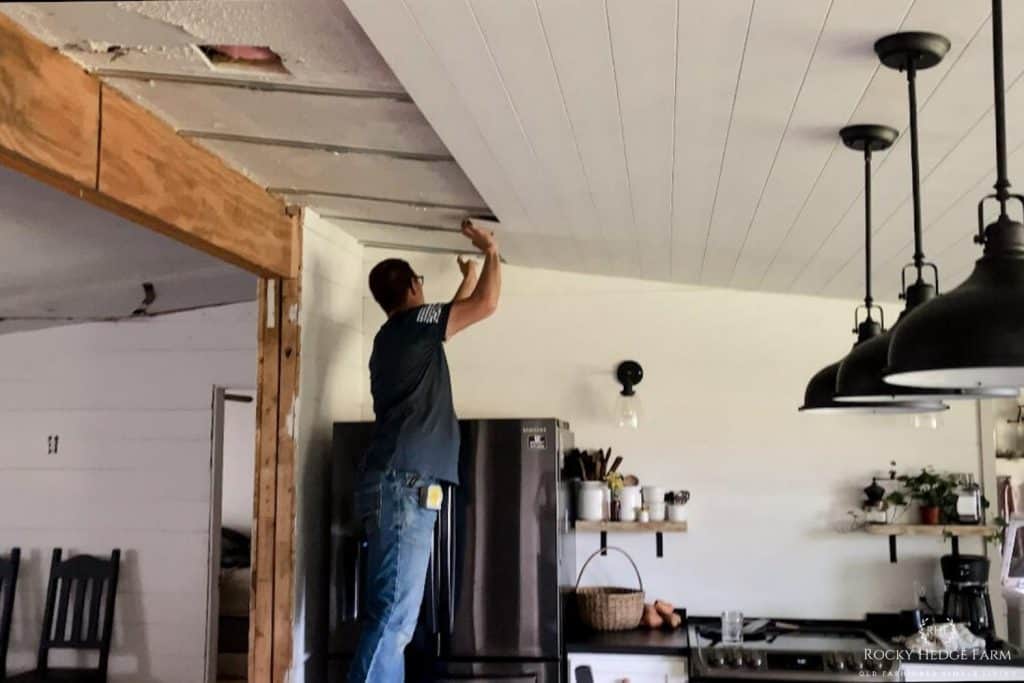
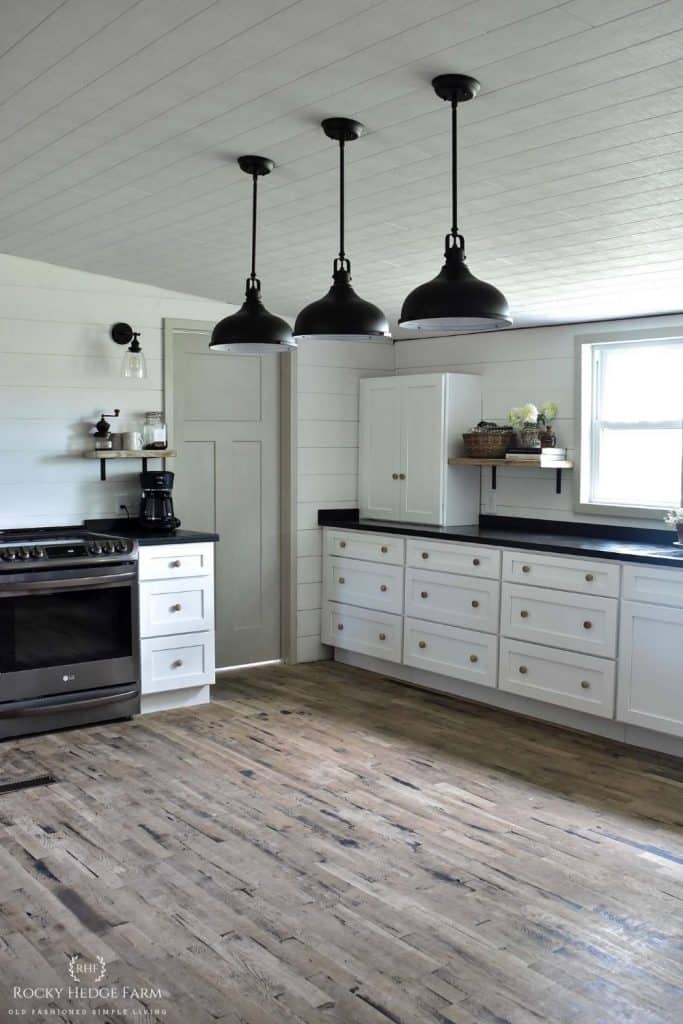
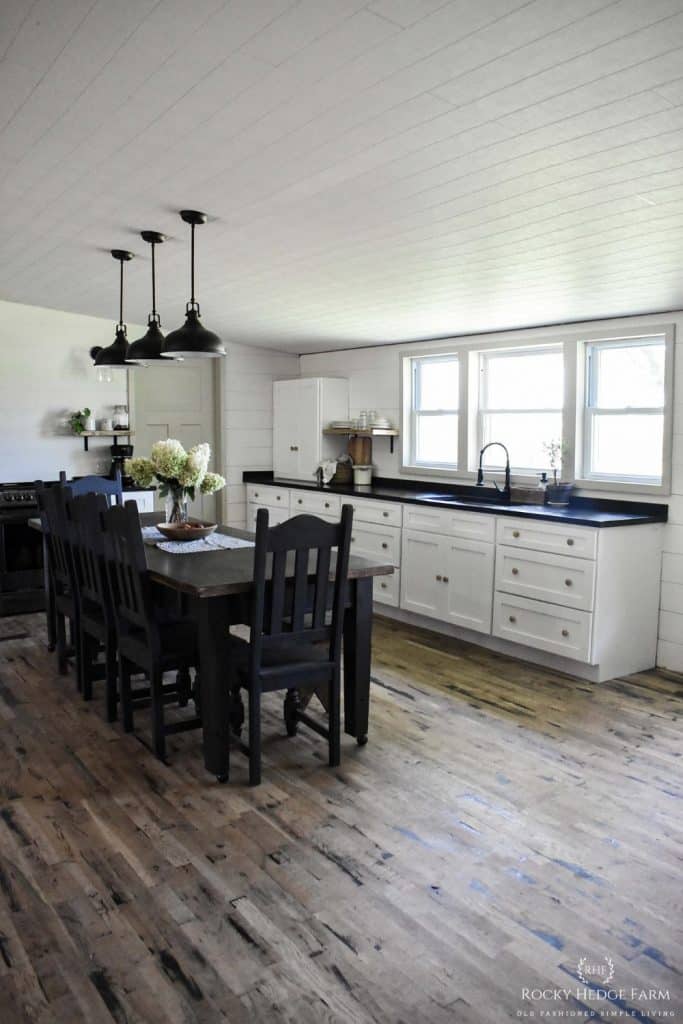
Learn how to cover a popcorn ceiling without removing it using Armstrong® Ceilings WOODHAVEN Planks. This idea supplies a no scrape, easy way to cover popcorn ceiling with planks; pre-finished planks can be installed over ugly ceilings creating the most attractive solution for your home.
Disclosure: I partnered with Armstrong Ceilings to cover up the popcorn ceilings in our kitchen. All words, photos, ideas, and opinions are my own.
We started the process of remodeling our kitchen in January of this year. I shared our original plan, the process of tearing out the kitchen, adding more windows to open the space up, adding new kitchen cabinets, and our DIY countertops from plywood.

How to Cover Popcorn Ceiling Without Removing It
Since moving into our home in 2013, we have removed lighting from the house and rewired to add new lighting. In doing so, we had to make several holes in the ceiling to accommodate new lighting.
Our home originally had popcorn ceilings, but over the years, some of it had fallen off. Then, we scraped the remaining popcorn before we discovered we could have used Armstrong® WOODHAVEN Planks to cover them without the process of scraping.

As we have neared the end of the remodeling stage for our kitchen, I knew we had to come up with a plan to cover our ugly ceilings. Thanks to Armstrong Ceilings and the Easy Up® Installation system (the best method to cover popcorn ceilings), it was easy learning how to cover a ceiling with Armstrong® WOODHAVEN Planks.
WOODHAVEN Woven White Planks
The planks come in 16 different finishes, from Driftwood Gray to Knotty Pine. We went with WOODHAVEN Woven White for our kitchen, which is one of their new textured planks and perfect for the farmhouse look we are trying to achieve.
If you are tired of popcorn, textured, ugly or dated ceilings, or want to add character and beauty to your space, then keep reading to see how to cover a ceiling with Armstrong WOODHAVEN Ceiling Planks.
Covering an Ugly Ceiling with Armstrong® WOODHAVEN Planks
When you receive your cases, you will get both written instructions and a link to video instructions on the Armstrong website; what helped us the most, though, was watching Ron Hazelton’s video several times. He shows how to how to cover a ceiling with Armstrong WOODHAVEN Planks over a sheetrock ceiling.
We were confident we could easily cover our ugly ceilings that were an eyesore to look at with the instructions and videos.
This tutorial is not meant to take the place of any provided instructions but to serve as a quick overview and to show you the amazing transformation that happens.

Recommended Tools for Armstrong Ceiling Planks
- WOODHAVEN Woven White planks
- Hand Saw
- Saber Saw
- Circular Saw
- Pencil
- Chalk Line
- Screwdriver
- Stud finder
- Tape measure
- Level
- Dust Mask
- Safety Glasses
- Screws
- Ladder
How to Cover a Ceiling with Armstrong WOODHAVEN Planks
Step 1: Measure Square Feet of Ceiling
Use a tape measure to measure the width and length of the room. This will determine how many boxes of wood planks you will need to order.
Step 2: Open Cartons
Once your shipment arrives, open cartons 2-3 days before installing and allow materials to adjust to the humidity in the space.
Step 3: Find Joists | Remove Light Fixtures
For this step, use a stud finder to find the ceiling joists and mark them with a chalk line. Remove any existing light fixtures and set them aside to re-install.
In our situation, it was apparent where our ceiling joist was located, so we could skip locating ours with a stud finder.
Step 4: Install Easy Up Tracks
Once you have your ceiling joists marked, you can install the metal tracks. Ensure that you do not have any tracks running over an area where a light fixture will be installed, and they should be no further apart than 24″.
When installing, start two inches from the wall, and put up the first track. Tracks can be installed side by side, as pictured below. If you need to cut a track, it can be done with a hacksaw. Install the last track 2 inches away from the finishing wall.
Use a level across the track to make sure it is level. If not, loosen screws, insert shims to level each track.

Step 5: Cut Tongue Side Off First Board
Using a table saw, or circular saw, cut the tongue edge off the first board. Leaving 3/4 of an inch from the starting wall, screw the first plank 1/2 inch away from the wall, leaving 3/4″ gaps at the ends to allow for wood expansion.
Use a screw to hold the plank in place. The border planks are the only ones that will need screws and will be later be covered by molding.
Next, attach a clip to each track and push the clips into the groove of the plank.

Step 6: Start Attaching Ceiling Planks
The rest of the Armstrong plank ceiling installation will go quickly. Continue building the ceiling by connecting the tongue and groove on the long side and end of the plank. Install with staggered seams being sure to leave a 3/4″ gap at the edge of the wall.
At the end of a row, measure the plank gap, mark, and cut to size. Then, use the leftover cut plank to start the next row.
Step 7: Install Light Fixtures
When you get to the section of the ceiling where there are holes for light fixtures, holes will need to be cut in the planks. We cut around light fixture openings using a jigsaw before installing the plank.
Armstrong® Ceilings provides an informative video on how to install lighting in a plank ceiling.

Step 8: Continue Adding Planks
Continue putting up planks, clipping each one to the track, and repeating the process until the ceiling is complete. When you reach the end of your plank ceiling, measure before putting in the last plank, using a table saw or circular saw, cut your last planks accordingly.
Step 9: Add Trim
The last step is to attach the trim to the walls using finish nails.
We still need to add trim in our home, but we have some changes in our dining room, so we will add trim once those changes are made.

Where to Purchase Armstrong WOODHAVEN Planks
Planks are available to buy at a local home improvement store. Click here to see which Armstrong Ceiling distributors are located in your area.
I hope seeing how to cover a ceiling with Armstrong WOODHAVEN Planks has inspired you. If you want to add a simple farmhouse, cottage or cabin feel to any ceiling in your home. There are many styles of planks to choose from with Armstrong.

The New Armstrong WOODHAVEN Plank Ceiling Reveal
The new white Armstrong ceiling planks covering our old, ugly ceiling have transformed the look and feel of our kitchen space. Now, there is no more looking up to see a ceiling that is an eyesore. We are so excited about our beautiful new ceilings, which were easy to cover using Armstrong WOODHAVEN Planks.


Your new kitchen is beautiful! Where did you find the awesome black light fixtures over your table?
The lights are from Amazon. I purchased them here: https://amzn.to/3d8zhh7
I can’t see how you attach the planks to the strips. That’s the yay or nay selling point right there.
Thank you.
There are clips that attach the planks to the metal strips. I show that in the photos.
GIRL!!!!! Once again you have read my mind! I’ve seen other plank ceilings, but they seemed complicated, and after the trouble we had with our floors…..I doubt my husband would even attempt. Your instructions made me feel like I could do this by myself! Are the planks a composite or are they solid wood? I was wondering if they could be used in a high humidity area (bathroom with high southern humidity levels all summer!)?
Anyway, you have once again knocked it out of the park!!
Thank you!! They are a composite but they are nice. I don’t know that they are recommended for high humidity areas like bathrooms but you might check with the manufacturer. Thanks for following along.
I checked with the faq’s section on Armstrong’s website. They do not recommend for high humidity areas such as bathrooms or porches.
I suppose for the bathrooms I’ll have to check out the pvc bead board options available at big box stores. Looking forward to seeing more of your home posts!
Thank you!
Kitchen looks great, I see you added a door between kitchen and laundry… What did you do for air return for the AC-unit? Thanks, Eddie…
We took our unit out. We have a wood burning stove in the living room and it keeps our house warm. In the hotter months we have a portable ac unit that keeps the house cool.
That ceiling is awesome! Sadly, Armstrong has gone out of business. If there is a nearby Ollie’s Outlet, this company bought out a whole lot of Armstrong materials and you might find stuff there. But otherwise, I am afraid readers may be out of luck when trying to find the exact products you used. Could you perhaps suggest other brands?