How to Make a Homemade Sourdough Starter
Learn how to make a beginner homemade sourdough starter at home. With simple ingredients, flour and water, and easy directions, you will have your own bubbly, active starter ready to make delicious recipes.
Once you have an active sourdough starter, it can be used to make all kinds of sourdough recipes. Sourdough biscuits, pancakes, dinner rolls, carrot cake muffins, blueberry muffins and more! The possibilities are endless and so delicious!

What is Sourdough
Sourdough is a slow-fermented bread that does not require commercial yeast. It is a natural leavening agent that is made with a live fermented culture of a flour and water mixture that contains wild yeast and good bacteria.
Kitchen Essentials for Making a Sourdough Starter
To make an active sourdough starter, I highly suggest using a scale to measure out the flour and water. Weight and volume measurements are not the same. The way that I measure flour in a cup may be different than the way that you would. However, using a scale, ensures that the exact amount of flour and water are being used.
Large Mixing Bowl (I love this vintage style stoneware bowl)
Wooden Spoon
Measuring Cup
Scale
Jar (I like this one)
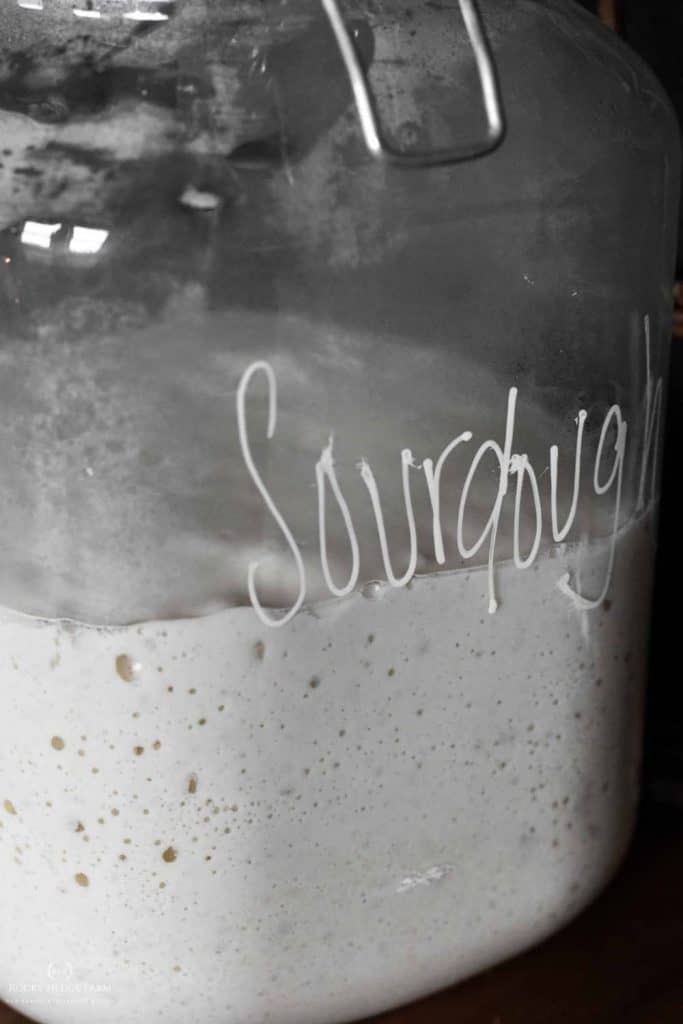
Ingredients to Make a Homemade Sourdough Starter From Scratch
Creating a sourdough starter from scratch is not hard to do. It can feel overwhelming if you begin to read all the variations on how to begin. Some starters will call for yeast, some require sugar, others may say to even use a potato.
With this simple tutorial for a sourdough starter from scratch, I will explain how I start an active, bubbly sourdough starter with just two simple ingredients.
Flour
I use un-enriched, un-bleached all purpose flour. Whatever flour you start your starter will be the best flour to continue feeding the starter throughout the process of caring for the starter.
Water
I use warm tap water, but you can use filtered. It is better to use filtered water if you know that your tap water has a lot of chemicals/chlorine.
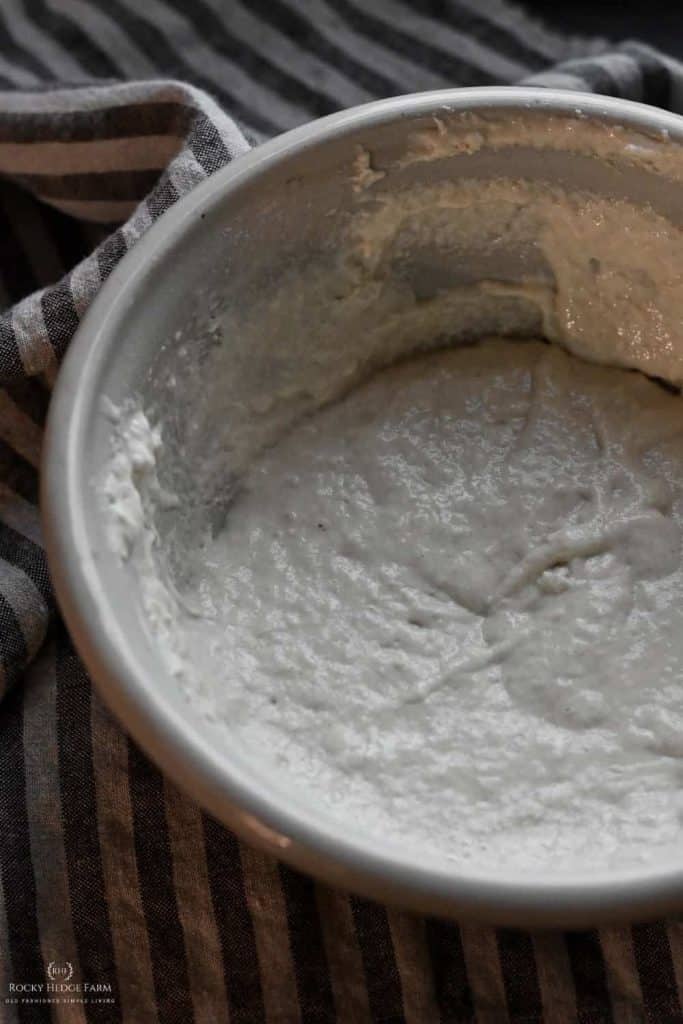
How to Make a Sourdough Starter from Scratch
Day 1: Make the Starter
Place a clean mixing bowl on the scale, select the grams setting and tare the scale so that it reads 0. Measure out 50 g of all purpose flour and 50 g of warm water in the mixing bowl. Mix with a spoon until smooth. The consistency should be thick and pasty. Pour the sourdough starter from the bowl in a jar with a loose fitting lid. Let rest in a warm spot for 24 hours.
Day 2: Look for Bubbles and Let Rest
On day 2, look for bubbles inside the jar. Any sign of bubble will indicate that the fermentation process has began. If you do not see bubble, be patient, do not add water or flour. Allow the starter to rest another 24 hours.
Day 3: Start Feeding the Sourdough Starter
It is time to start feeding the sourdough starter. Using a medium size mixing bowl, remove 50 g of the sourdough starter and place it in the bowl. To the starter, add 50 g of flour and 50 g of water. Mix until smooth.
At this point, I wash my sourdough starter jar, and dry it. Then, transfer the starter from the bowl back to the jar. Cover and let rise for another 24 hours.
Day 4, 5, 6: Keep Feeding the Starter
Repeat the feeding process as detailed for day 3. It should be noticeable that the yeast is beginning to develop. The starter will rise and you will see bubbles on the top and throughout the starter.
On day 4,5, and 6, I make a mark on my jar for where the sourdough starter begins after I feed it as detailed on day 3. Once the starter doubles past the line, and then falls, I know it is time to feed the starter. So, you may feed more frequently than 24 hours, just watch for the starter to fall back down after it rises.
Day 7: Sourdough Starter
On day 7, you should see a lot of bubbles in all sizes. The dough should be spongy and soft and have no unpleasant smells. Your sourdough starter should now be ready to use.
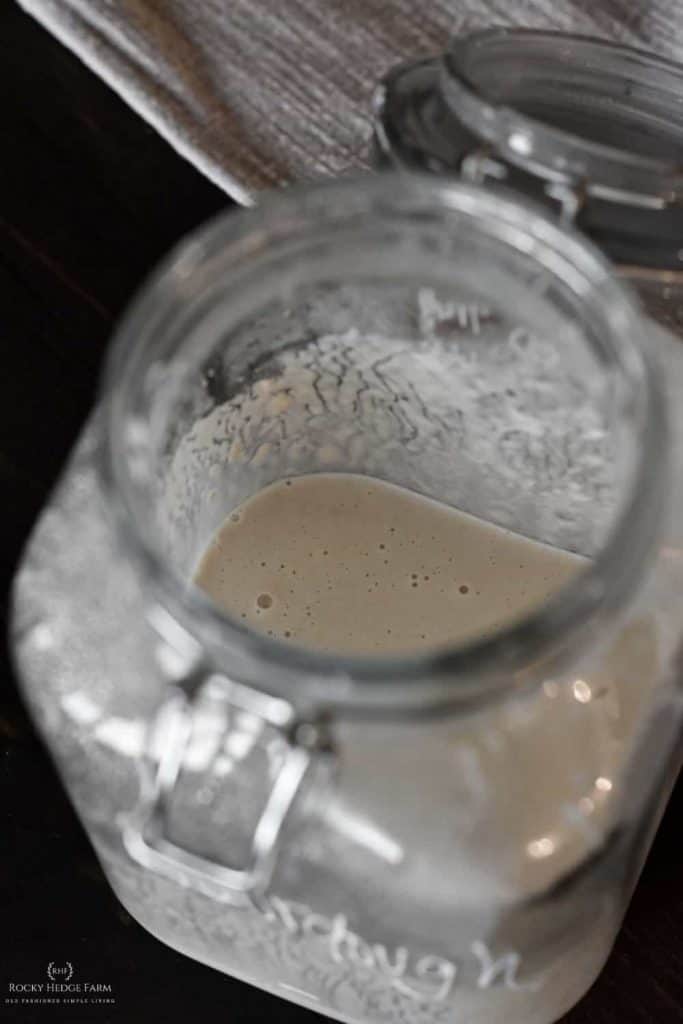
How Long Does it Take to Make a Sourdough Starter
In general, it takes approximately seven days from start to finish to have sourdough starter that is bubbly and active to use in recipes. If your starter is not active and bubbly after 7 days, continue the feeding process for another week.
Why Do You Discard Half of the Sourdough Starter?
The main reason that you discard half of the starter is so that you don’t have an abundance of sourdough that overflows your jar that you are unable to use. Removing about half of the starter, also helps to ensure that the acidity level is rebalanced which produces a mild sour flavor.
When is My Starter Ready to Use
The starter is ready to use when you see the following signs:
- It doubles in size after feeding
- Bubble appear on top and throughout the starter
- Has a pleasant aroma
- It passes the float test. To do a sourdough dough float test, once the starter has doubled in size, drop a teaspoon of the starter into a glass of water. If it floats to the top, the starter is ready to use.
How do You Feed Sourdough Starter
After creating a starter, it will need to be fed regularly in order to maintain the strength it needs to rise in recipes. I suggest establishing a regular feeding time, this is helpful in knowing when to expect the dough to rise and fall.
For instance, I feed my sourdough starter around 3:00 PM each day. I remove and weigh out 100g of starter from the jar into a clean mixing bowl. Then, add 100 g of flour and 100 g of water. This feeding ratio works to keep my sourdough active, and bubbly.
After 4-5 hours, I know that my sourdough starter will have doubled in size and be ready to use in any of my overnight recipes. Before going to bed, I like to mix up the dough for homemade sourdough biscuits, fluffy pancakes or sweet honey dinner rolls.

Sourdough Starter Maintenance
On the Counter
I bake with my sourdough starter several times a week, so I leave my starter on the counter. Room temperature sourdough starters may need to be fed once or twice a day depending on how fast it rises to double in size and then fall. Remember, when the starter falls, it means that it is time to be fed again.
In our kitchen, I keep the sourdough stored away from any heat source and in the coolest area. This allows me to only have to feed my starter once per day. I like to mix my bread recipes together in the evening for baking the bread the next day.
I remove the active starter amount that I need for my recipe. Then, weigh out how much sourdough starter I have left into a clean mixing bowl. If I have 100 g of starter, I add 100g of warm water and 100 g of flour. I mix to a smooth consistency, add it all back to a clean jar, and leave on the counter to rise for the next day.
In the Fridge
If you only plan to bake once a week, it is best to store your homemade sourdough starter in the fridge. Storing the sourdough starter in the fridge slows down the fermentation process.
Once a week, remove the starter from the fridge, add an equal amount of flour and water in grams, mix well and put it back in the fridge. Reviving sourdough starter from the fridge is easy. Whenever you are ready to make dough, bring the starter to room temperature, then feed it to wake it back up.

How Soon to use Sourdough Starter After Feeding
Your sourdough starter will be ready to use anywhere from 4 to 12 hours after feeding. The best time to use the starter is when they are a lot of bubbles on the surface and throughout the starter.
It should be doubled in size from when it was fed, which is considered the peak time. Once the starter has peaked, it is best to use it within one to two hours before it falls.
Enjoy the Process
The art of making bread with a starter is an enjoyable process. What you will find is that every single bread maker who uses sourdough, will have a different process. Every technique may be different, but in the end, they create delicious loaves of bread.
I encourage you to begin the process of your own sourdough starter. If you have questions or comments leave them below.
Printable Process for How to Make a Homemade Sourdough Starter
How to Make a Homemade Sourdough Starter

Learn how to make a beginner homemade sourdough starter at home. With simple ingredients, flour and water, and easy directions, you will have your own bubbly, active starter ready to make delicious recipes.
Ingredients
- Flour
- Water
Instructions
Day 1: Make the Starter
Place a clean mixing bowl on the scale, select the grams setting and tare the scale so that it reads 0. Measure out 50 g of all purpose flour and 50 g of warm water in the mixing bowl. Mix with a spoon until smooth. The consistency should be thick and pasty. Pour the sourdough starter from the bowl in a jar with a loose fitting lid. Let rest in a warm spot for 24 hours.
Day 2: Look for Bubbles and Let Rest
On day 2, look for bubbles inside the jar. Any sign of bubble will indicate that the fermentation process has began. If you do not see bubble, be patient, do not add water or flour. Allow the starter to rest another 24 hours.
Day 3: Start Feeding the Sourdough Starter
It is time to start feeding the sourdough starter. Using a medium size mixing bowl, remove 50 g of the sourdough starter and place it in the bowl. To the starter, add 50 g of flour and 50 g of water. Mix until smooth.
At this point, I wash my sourdough starter jar, and dry it. Then, transfer the starter from the bowl back to the jar. Cover and let rise for another 24 hours.
Day 4, 5, 6: Keep Feeding the Starter
Repeat the feeding process as detailed for day 3. It should be noticeable that the yeast is beginning to develop. The starter will rise and you will see bubbles on the top and throughout the starter.
On day 4,5, and 6, I make a mark on my jar for where the sourdough starter begins after I feed it as detailed on day 3. Once the starter doubles past the line, and then falls, I know it is time to feed the starter. So, you may feed more frequently than 24 hours, just watch for the starter to fall back down after it rises.
Day 7: Sourdough Starter
On day 7, you should see a lot of bubbles in all sizes. The dough should be spongy and soft and have no unpleasant smells. Your sourdough starter should now be ready to use.
Thanks so much for stopping by Rocky Hedge Farm, please take a moment to follow along.
Instagram | Facebook
YouTube | Pinterest



Sarah, since I am gluten intolerant, do you know of any other types of flour Other than wheat, that I can use to create my sourdough? I absolutely love your videos, your home as well as simplistic style of decorating. But most of all what keeps drawing me back to your posts, is the fact that you’re genuine and the things that you share come from your heart. Thank you! ❤️
Hello Debbie!
I know that it can be done! I have read where people have done this but I personally have never tried. I do also know that many people who are gluten intolerant can handle sourdough. This is because the process of fermentation actually breaks down the gluten. I hope that you find something that works for you!
Sarah
Thank you so much for the step by step instructions. I have used a starter before but only limited experience and the starter was always given to me. I love baking bread. I am definitely going to try this.
I’m so excited to try this!! I just started making my own bread a few weeks ago. Hoping this becomes something my whole family loves to learn along side me!! Random question, where do you get your large glass jars? Do they have a tight enough seal to store grain and or sugars on the counter? I’m tired of opening the 5 gallon bucket to get to the grain. Ha! Thanks in advance!!
Lindsy from GA
I got my jars from WalMart but honestly, I just switched to all Mason Jars because they are so easy to use and easy to come by. I will be doing a post soon that shows the updated look.
Hi! This reminds me exactly of a friendship bread we use to make as kids. When we took out the half of the doughy mix we put that in a separate jar and made a dozen or so sourdough starters to give out except we put them in airtight baggies. Back then we did not use scales or have organic flour so we used whatever mom bought and we used measuring cups. It was exciting to hand out the baggie with a ribbon and recipe to our friends. Ofc we did waste some of the dough, you can make as many extra doughs as you wish. My mom never believed in throwing anything out lol. Love your blog, touche’!!!
thank you fort this recipe. I’ve tried and failed at doing sourdough starter but this is one I think I can do and keep going !
2.5 oz flour and 2.5 oz water is a paste. Is it supposed to be?
My questions are 1. do you just eyeball half when you dispose of it? Or do you weigh it and then dispose of half the weight? 2. Do you first weigh your container before weighing the flour and water for the starter?
Sarah, I just love your posts, literally all of them. We have so much in common from gardening, to cooking/ baking, to home Reno. thanks for all you share.
Thank you so much!