Learn how to make the most delicious homemade butter using a churn. This recipe will take you back to the good old days and give you the best butter you have tasted. Get ready to experience the joy of making churned butter from scratch!

Are you wondering how to make butter from scratch using a churn? Whether you have raw cream or store-bought heavy cream, you can learn to make churned butter in just a few simple steps.
Uncover the simple pleasure of churning butter the old-fashioned way. Then, enjoy butter that is perfect for spreading on toast or using in your favorite recipes.
In this post, I will share how to churn butter by hand, how long to churn butter, and how long homemade butter lasts as well other tips and information.
What Is Churning Butter?
Churning butter is converting cream into butter by shaking or stirring it hard. The cream separates into two parts, the thick butter, and buttermilk. This can be done using various methods, such as an old fashioned butter churn.
How Does a Butter Churn Work?
A butter churn is a device that separates the fat from the cream to make butter. It uses a rotating paddle to agitate the cream, causing the fat to separate from the buttermilk.

Equipment Needed to Churn Butter
To make homemade churned butter from scratch, you will need a few essential equipment and ingredients:
- Cream: You can use raw cream or store-bought heavy cream as the main ingredient for making butter. Ensure it is fresh and preferably organic high-quality cream.
- Butter Churn: A butter churn is a traditional device used for making butter. However, if you don’t have a butter churn you can use different ways, such as a hand mixer, a blender, or even shaking it in a mason jar.
- Colander: You will need a colander or strainer to separate the buttermilk from the butter.
- Bowl: A large bowl is necessary for collecting the butter and buttermilk.
- Butter Paddles (optional): Butter paddles can further work the buttermilk out of the butter and help shape the butter.
- Butter Mold (optional): You can use a butter mold to shape your butter into a specific form.
- Glass Container for Storage: Once the butter is made, you will need a glass container with a tight-fitting lid to store it in the refrigerator.
This post contains affiliate links; I make a tiny commission off any purchase that you may make. This small commission helps you keep Rocky Hedge Farm going at no additional cost. Please see my disclosure policy for more information.

How to Make Butter in a Churn
Making butter in a churn is a simple process. Following these step-by-step instructions will transform heavy cream into delicious homemade butter.
Step 1. Pour the Cream
- Start by pouring 1 to 1 1/2 quarts of heavy cream into the churn. It is best to use cream aged at least 24 hours, as it churns more effectively.
- Place the lid on the butter churn.
Step 2: Begin Churning
- To start making butter in a churn, begin churning the cream by turning the handle or crank on the churn.
Step 3. Keep Churning
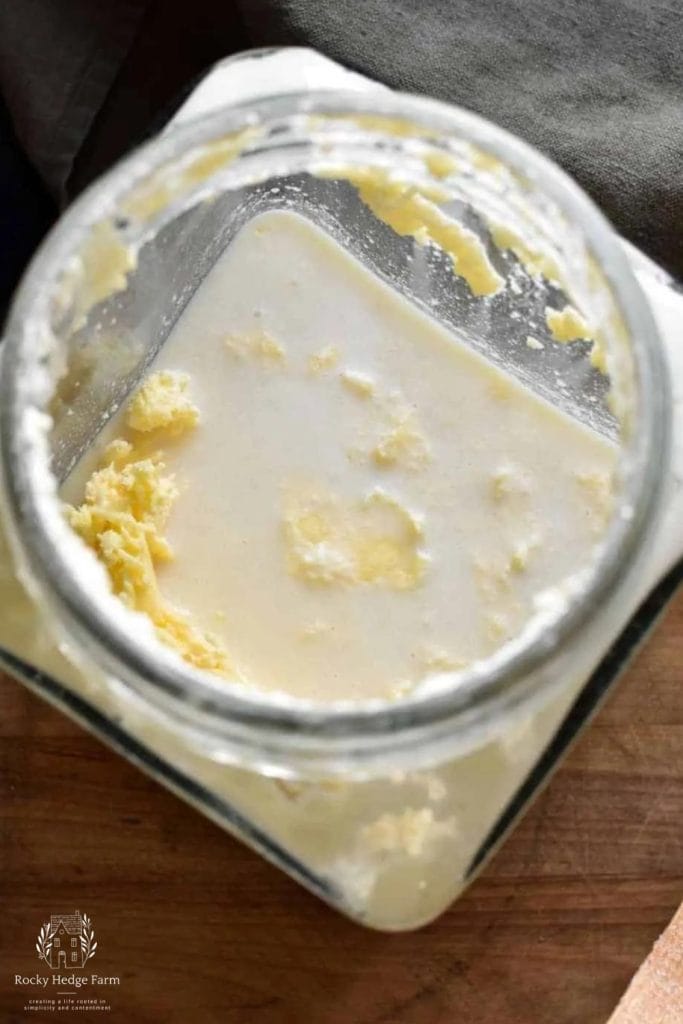
- Continue churning the cream until you notice a change in the texture. Initially, the cream will transform into whipped cream. Keep churning persistently.
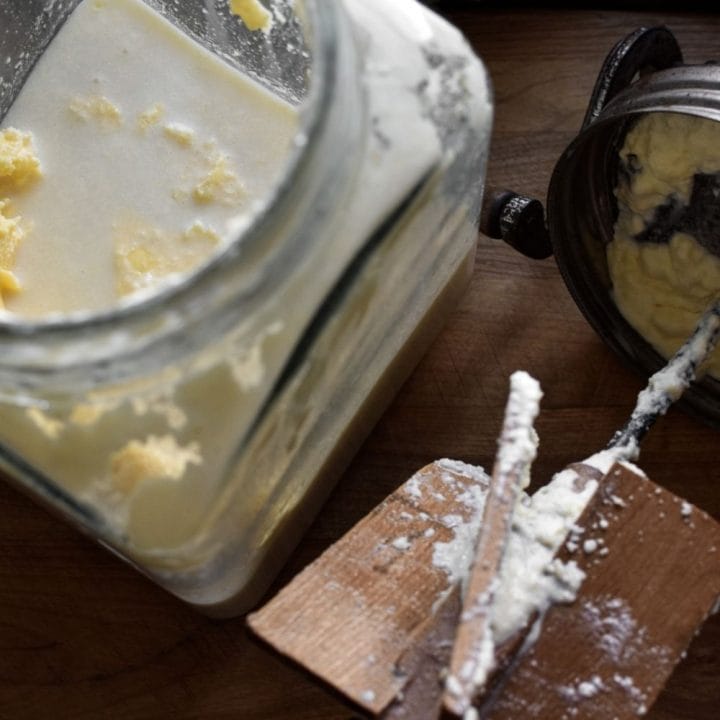
- After some time, you will start to notice a separation occurring. The fat in the cream will begin to separate from the liquid, known as buttermilk. This separation indicates that butter is forming.
Step 4. Drain the Buttermilk
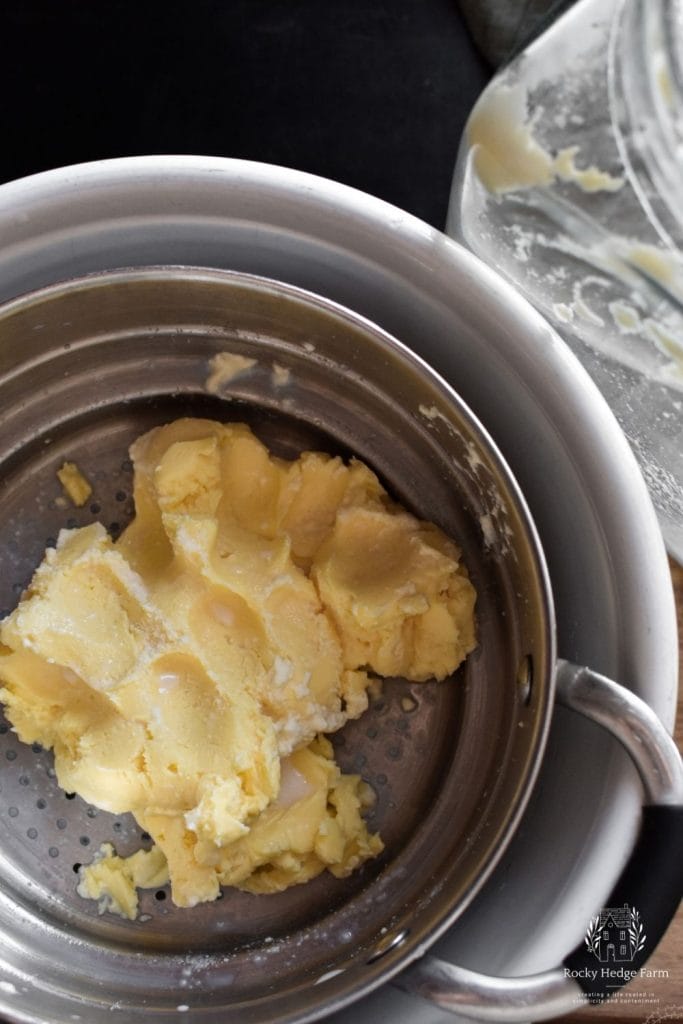
- Once the butter has fully formed, you must separate it from the buttermilk.
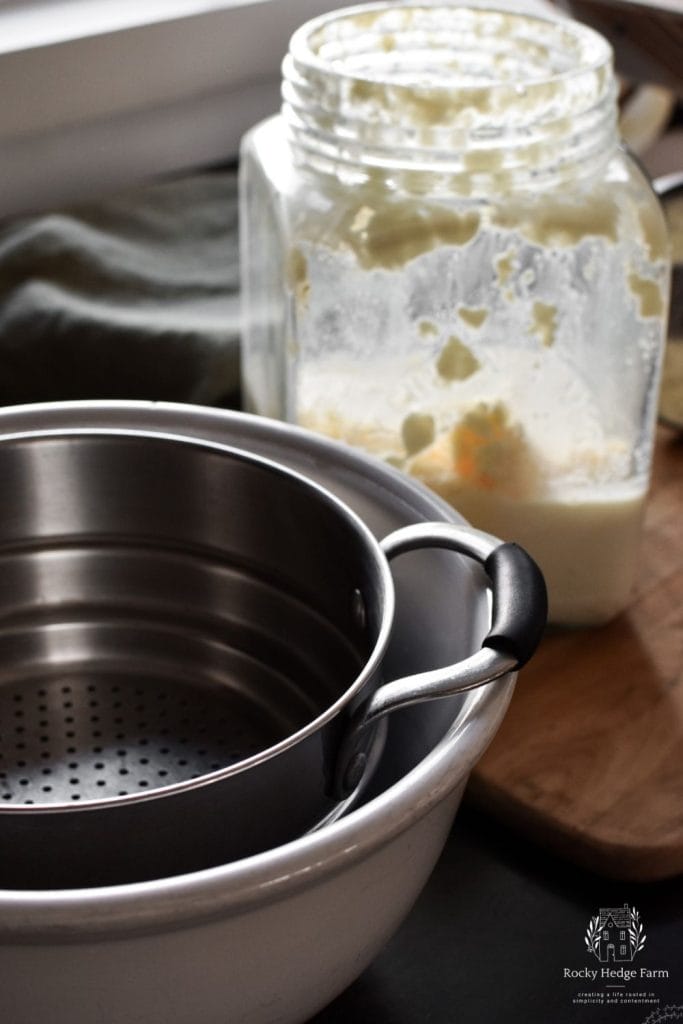
- To strain the butter from the buttermilk, use a colander placed over a bowl. Gently pour the contents of the churn into the colander, allowing the buttermilk to drain away while the butter remains in the colander.
- Transfer the buttermilk to a glass jar with a lid and store it in the refrigerator for later use.
Step 5. Rinse the Butter
- You will need a bowl of clean cold water to rinse homemade butter.
- Take the ball of butter and place it into the bowl of water. Gently knead and press the butter with clean hands or a wooden spoon to remove any remaining traces of buttermilk.
- As you work the butter, you will notice that the water becomes cloudy. Drain the water, and repeat the rinsing process until the water runs clear.
Step 6. Add Salt
- Once the buttermilk is rinsed out of the butter, sprinkle the salt over the butter. Use about 1/4 teaspoon salt per 4 ounces of homemade butter.
- Use your hands to knead and mix the salt into the butter thoroughly.
Step 7. Store and Enjoy
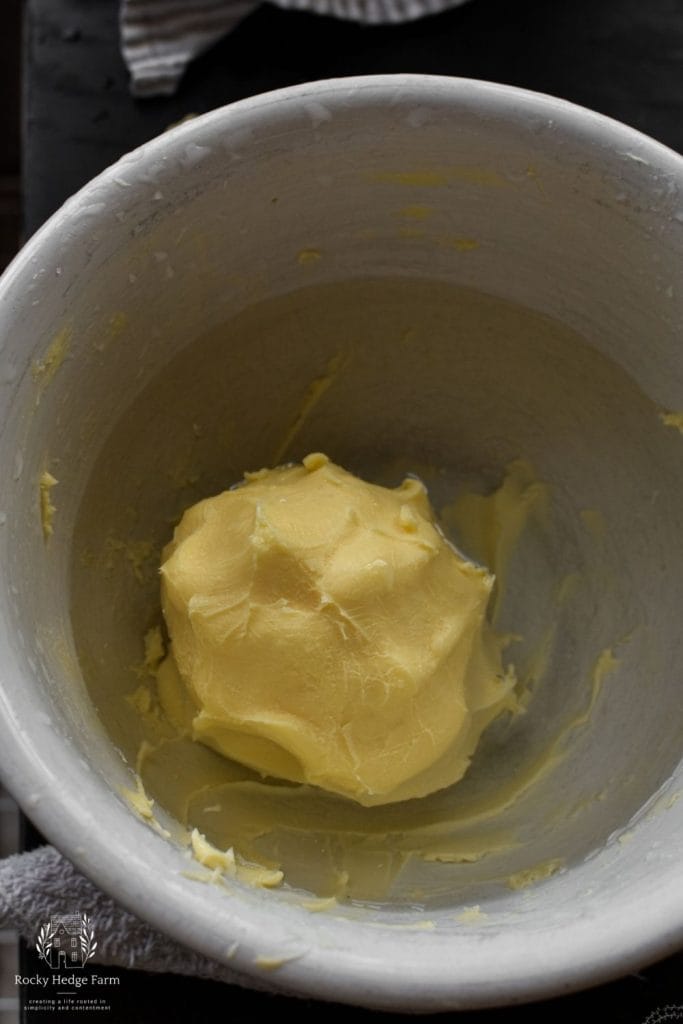
- If desired, you can shape the butter using butter paddles or transfer it to a butter mold.
- Place the freshly made butter in a container with a lid and store it in the refrigerator.
How to Store Homemade Butter
To store homemade butter, it is important to protect the flavor, texture, and freshness. Here is how you do it:
- Wrap Tightly: Wrap the butter tightly in wax paper or plastic wrap to prevent it from absorbing odors from the fridge.
- Use an Air Tight Container: If you prefer, place the butter in an airtight container to provide extra protection from moisture and odors.
- Refrigerate or Freeze: Store the butter in the refrigerator for short-term storage. For long-term storage, freeze it.
- Label and Date: To keep track of the storage time, label the butter with the date of preparation before storing it in the fridge or freezer.
What to Do With Buttermilk After Making Butter
After making butter, there are several delicious recipes that you can make with the leftover buttermilk:
These recipes are a great way to use leftover buttermilk and make delicious meals your whole family will love!
FAQs
This section will provide some knowledge for a successful homemade butter experience, from the type of cream to use to storage tips.
Can You Leave Homemade Butter Out on the Counter?
Yes, you can leave homemade butter on the counter for short periods, typically up to a few days.
To help maintain freshness, you can store butter at room temperature in a butter dish, butter bells, or butter crocks.
Bes sure to check the butter regularly for any signs of spoilage, such as bad smells or changes in texture. Discard the butter if it appears spoiled.
What is the Best Cream to Make Butter?
The best cream for making hand churned butter is heavy or whipping. These creams have a higher fat content which makes them ideal for butter-making.
Sourcing fresh, raw cream from pastured Guernsey or Jersey cows is an excellent choice if possible. They produce milk with a higher fat content making it perfect for churning your own butter.
Websites like Real Milk Finder can help you connect with local farmers and find the best cream source near you.
How Long Does Homemade Butter Last?
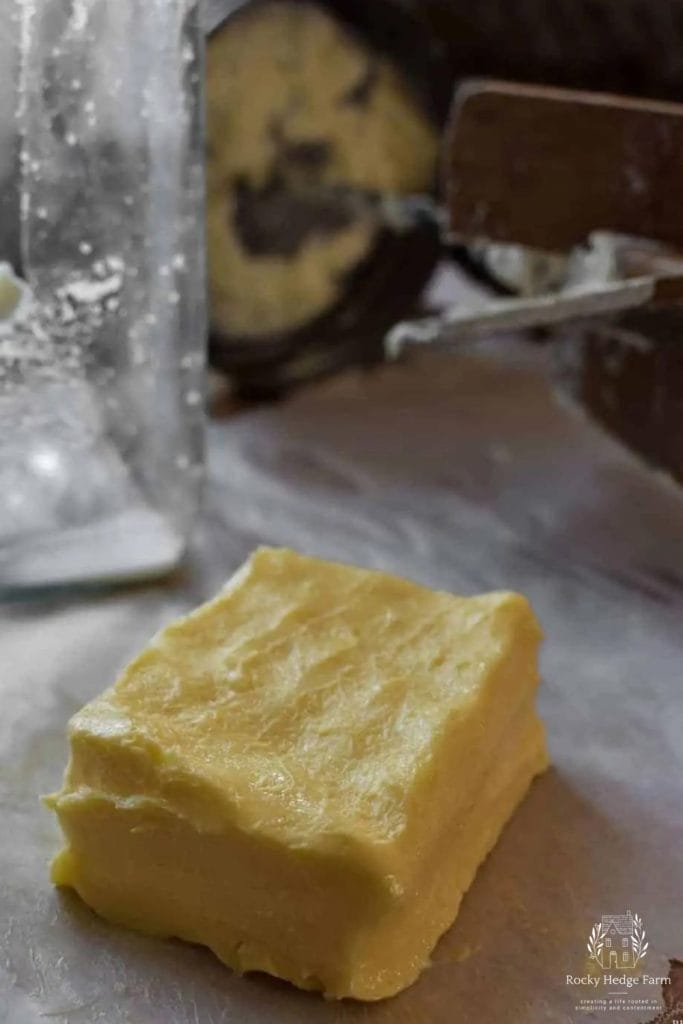
When stored properly, homemade butter can last up to 3 months in the refrigerator. The shelf life may vary depending on the moisture remaining in the butter, so ensure that the butter is well-rinsed and stored in an air-tight container.
How Long Does it Take to Churn Butter?
How long it takes to churn butter by hand can vary depending on several factors. Generally, it can take anywhere from 20-30 minutes of continuous churning to transform cream into butter.
How Much Cream to Make a Pound of Butter
The amount of cream required to make a pound of butter can vary depending on the fat content of the cream. It takes 1-2 quarts (4-8 cups) of cream to produce a pound of butter.
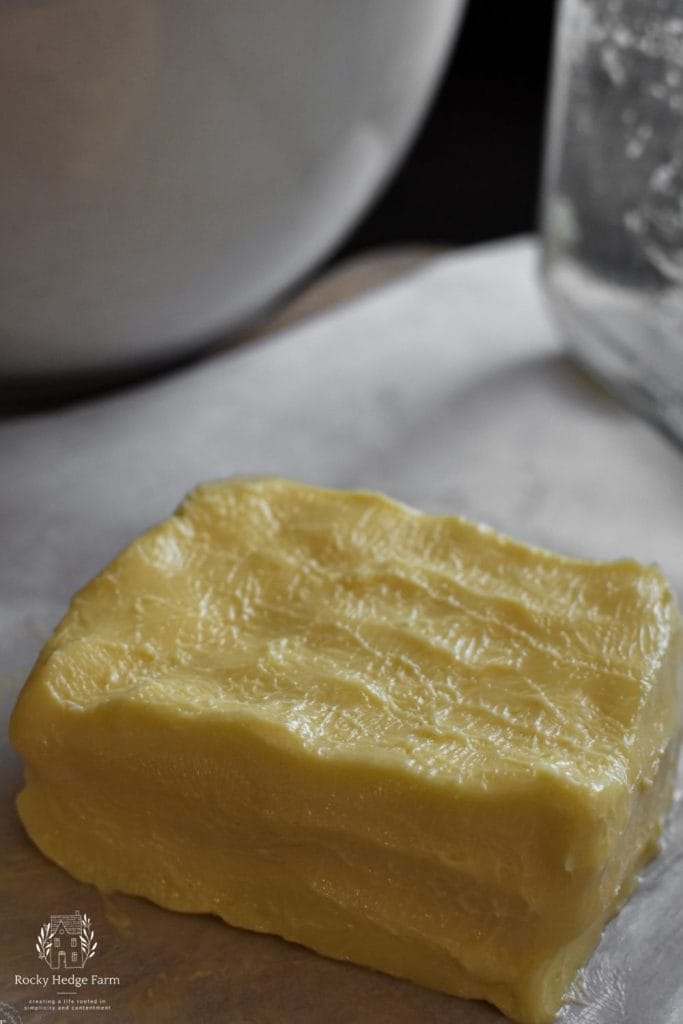
Making this easy homemade butter recipe in a churn is a rewarding experience that connects us to old traditions. You can create delicious and creamy butter far better than store-bought butter with just a few easy steps.
It is not just about the end result but also about enjoying the process and feeling a sense of pride in what you have created. The taste of homemade butter will add a special touch to your meals and bring back memories of simpler times.
Enjoy the journey and savor the satisfaction of making your own butter from scratch.
How to Make Churned Butter Recipe
How to Make Homemade Butter From Scratch in a Churn
Learn how to make the most delicious homemade butter using a churn. This recipe will take you back to the good old days and give you the best butter you have tasted. Get ready to experience the joy of making churned butter from scratch!
Ingredients
- 2 quarts raw or organic cream
Instructions
- Start by pouring 1 to 1 1/2 quarts of heavy cream into the churn. It is best to use cream aged at least 24 hours, as it churns more effectively.
- Place the lid on the butter churn.
- To start making butter in a churn, begin churning the cream by turning the handle or crank on the churn.
- Continue churning the cream until you notice a change in the texture. Initially, the cream will transform into whipped cream. Keep churning persistently.
- After some time, you will start to notice a separation occurring. The fat in the cream will begin to separate from the liquid, known as buttermilk. This separation indicates that butter is forming.
- Once the butter has fully formed, you must separate it from the buttermilk.
- To strain the butter from the buttermilk, use a colander placed over a bowl. Gently pour the contents of the churn into the colander, allowing the buttermilk to drain away while the butter remains in the colander.
- Transfer the buttermilk to a glass jar with a lid and store it in the refrigerator for later use.
- You will need a bowl of clean cold water to rinse homemade butter.
- Take the ball of butter and place it into the bowl of water. Gently knead and press the butter with clean hands or a wooden spoon to remove any remaining traces of buttermilk.
- As you work the butter, you will notice that the water becomes cloudy. Drain the water, and repeat the rinsing process until the water runs clear.
- Once the buttermilk is rinsed out of the butter, sprinkle the salt over the butter. Use about 1/4 teaspoon salt per 4 ounces of homemade butter.
- Use your hands to knead and mix the salt into the butter thoroughly.
- If desired, you can shape the butter using butter paddles or transfer it to a butter mold.
- Place the freshly made butter in a container with a lid and store it in the refrigerator.
Notes
To store homemade butter, it is important to protect the flavor, texture, and freshness. Here is how you do it:
- Wrap Tightly: Wrap the butter tightly in wax paper or plastic wrap to prevent it from absorbing odors from the fridge.
- Use an Air Tight Container: If you prefer, place the butter in an airtight container to provide extra protection from moisture and odors.
- Refrigerate or Freeze: Store the butter in the refrigerator for short-term storage. For long-term storage, freeze it.
- Label and Date: To keep track of the storage time, label the butter with the date of preparation before storing it in the fridge or freezer.
Butter is one of the best things that has ever happened to humanity. It goes with pretty much anything and makes any dish more flavorful. Of course, homemade butter is the best option since you know what’s in it..
Hi, just got my churn but I have a few questions
– how long does the buttermilk keep and how to preserve it to keep longer if possible
– sounds silly but how do you keep raw milk from making you sick? ( My mom grew up on a dairy farm but my grandpa transitioned to beef cattle before I was born)
Thanks! So glad I found your page
As long as you store buttermilk in an air-tight container in a cold fridge, it can last up two weeks.
We have drank raw milk for a long time and have never gotten sick. I am not sure about your source of milk, but be sure that if you are getting it from a local farmer, you know your farmer. The equipment that is used to milk the cows should be clean and then the milk should be strained and refrigerated right away. If you have any more questions, please feel free to contact me.
Does the cream need to be room temperature before making the butter?