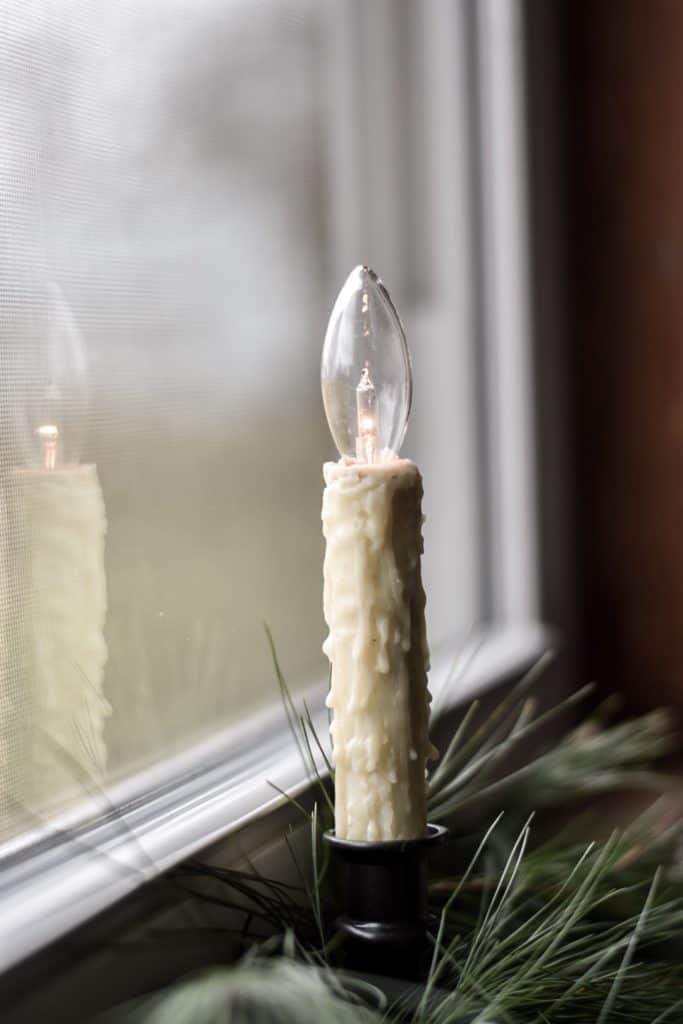
This DIY wax dipped primitive window candle will have your home looking cozy for winter. Using a battery operated candle you can make your own primitive window candle.

DIY Primitive Window Candle Tutorial
No matter the season, I always want my home to feel welcoming and inviting. On the interior, I do that by creating a warm welcoming scent, having cozy throws, like my personal favorite knitted blanket, and often times I use lamps instead of overhead lighting.
But, what about the outside of my home? How do I make it look warm, cozy and inviting? One excellent way to add warmth to the exterior of my home is to adorn my windows with beautiful wax dipped window candles. A sign of welcome and peace, a candle in the window is a beautiful way to add a welcoming and cozy feel to the outside of the home.
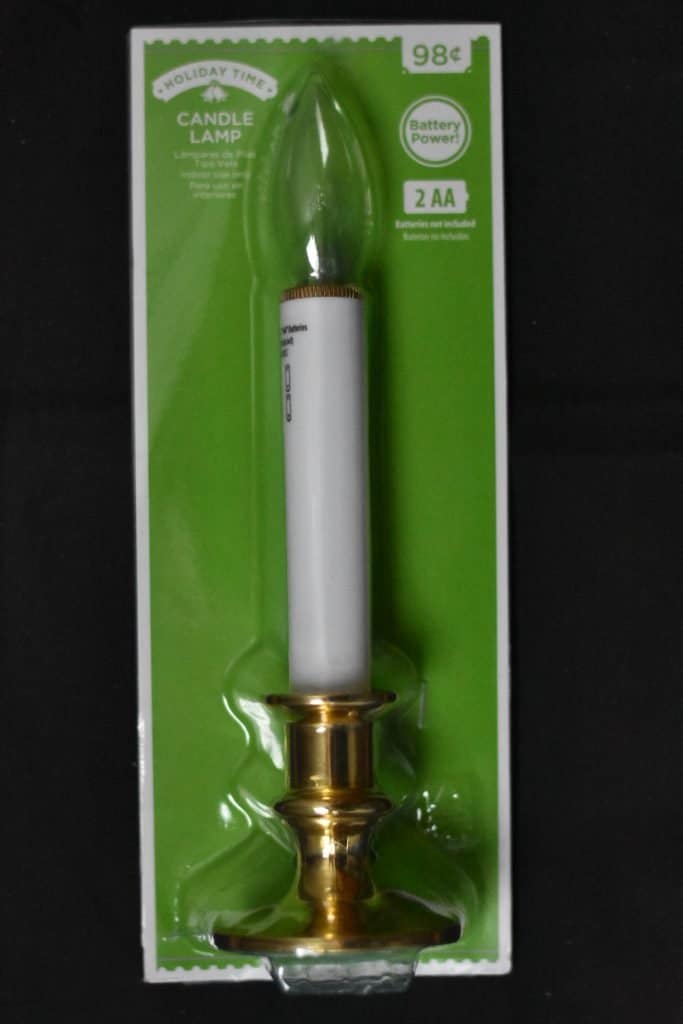
For this tutorial I used battery operated window candles, however, I will be switching to electric window candles like this one or possibly this. It’s so easy to spray paint over the brass color by simply spray painting. This will prevent me from having to change out the batteries in the battery operated candles.
How to Make Wax Dipped Primitive Candles
Supplies
battery operated candle: Mine are from WalMart but you can also find them here.
1 cup beeswax pastilles
1/4 cup coconut oil
1 tbsp nutmeg
Old paintbrush
Metal container for melting wax

DIY Primitive Country Candles
Let me first say that this was a trial and error process. There may be a better way to do this but this is the way that I achieved a lovely primitive country look to some rather boring candles that didn’t match my primitive farmhouse style.
- Take the candles apart.
- Spray paint the base of the candle holder in whatever color that you choose. Allow them to dry.
- In a metal container, slowly melt the beeswax pastilles and coconut oil. Beeswax can be difficult to clean up so I have a single metal container that I designate solely for the purpose of using to melt the beeswax.
- Stir the beeswax and coconut oil frequently until they have melted.
- Remove from heat and add the nutmeg. The nutmeg is what adds a bit of the brown color and provides a little bit of grungy textured look. It is best to work with the wax when it is warm. I removed mine from the heat and allowed it to cool just slightly before I began using it. If you use the wax when it is really hot, it will melt the previous layers of wax that you put on the candle.
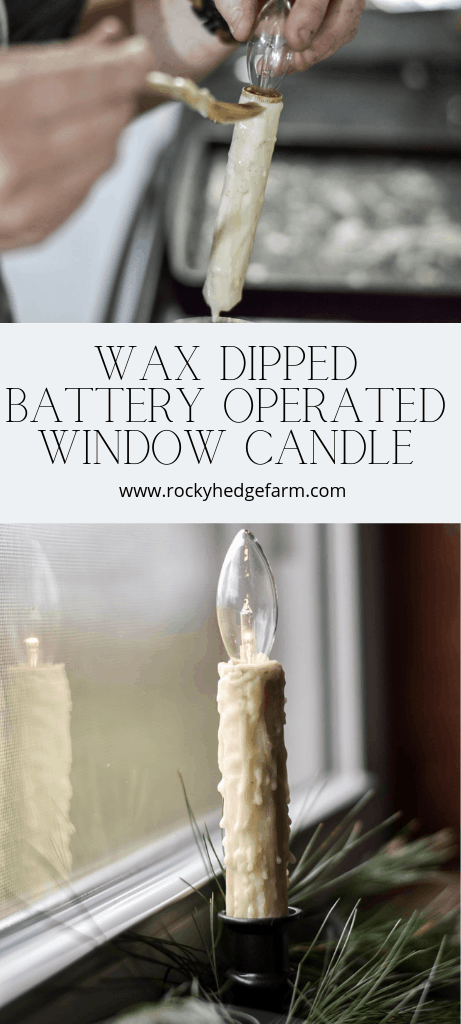
- Place the batteries in the candlestick and replace the gold piece that goes into the top. Then, dip the paintbrush into the wax and very carefully begin to add a bit of wax to cover the top gold piece of the candle holder. The wax will dry very quickly but this is where it may take a bit of trial and error to achieve the look you want. The best part about working with beeswax is that you can scrap it off using toothpicks if you need to so that you can rework an area that may not look right to you.
- Then, once you have the gold tip covered, put the bulb back in and screw it to where you can hold onto the bulb as you finish the candlestick. Again, use the paintbrush to add layers of wax to the candle. You can add as many layers as you want to achieve the look that you desire.
- Wax will drip onto the part of the candle that sits in the base. You can simply use a knife to scrape that part off. Don’t discard the wax, you can put it back in the metal container to re-melt and re-use.
- Place the candle into the holder and enjoy the beauty of transforming a plain plastic candle holder into something beautiful!


Tips for Wax-Dipped Primitive Window Candles
There are several tips that I learned through trial and error while making these
- Don’t use extremely hot wax because it will melt the previous layers of wax that you have put on the candle. Use warm wax but if it starts to cool too much, you can simply reheat the wax just a bit.
- You may have a bit of wax build-up on your brush. The wax will melt off once you stick it back in the metal container. Don’t throw away any wax that you scrape off the candle or that falls onto your work area. It can be reheated and reused.
- Beeswax can be very messy! Only use utensils that you don’t care to use for future projects.
- Don’t give up! It took me a bit to get the hang of putting the wax on and creating the look that I wanted. I had to scrape several areas off and start again.
- What will I do when I need to replace the battery? Ideally, I wish I could have found battery operated lights that opened at the bottom. These open at the top and my plan will be to only have them on in the evening hours once it gets dark and then to unscrew the bulb when we go to bed.
- Once I need to replace the battery, I will use a knife to cut through the wax to unscrew the top. If I feel the need to add more wax back to the top after I replace the batteries, then I will do so again using the paintbrush and melted wax. In the future I will be switching to plug in window candles to prevent this issue.
- Keep the candles away from high heat areas. The wax will melt if the candles get to warm.

More Homemade Christmas Ideas
Christmas Scented Salt Dough Ornaments
Fresh Mini Christmas Trees
Gathered & Foraged Christmas Swag
The Christmas season is a wonderful time of the year to add welcoming wax-dipped primitive window candles to all of your window sills to create a warm and inviting feeling. If you make these, would you let me know? I would love to see yours!

This would be a puddle on my window sill quickly. Living in Florida it can be 80 or higher during the Holiday season and the heat from the sun would melt the wax. Nice for colder climates though.
Yes, they may melt if they get to hot, I need to come up with another idea for those in warmer climates.
I am going to try with joint compound.
You will have to let me know how that works!
I do clear silicone dipped lightbulbs wonder if that would work instead of using wax or maybe use glue and add nutmeg and cinnamon to it and make like paste and put on brush on candlestick instead of wax.
That would probably work.
Great idea! I love the way they turned out.
Thank you so much!
These are beautiful! Thank you for the tutorial. I just love the candle and will definitely be giving this a try.
Thank you! I would love to see how they turn out for you!
It looks like you used yellow and white beeswax. Is that correct? I looked at Amazon for it. And saw that they sell yellow and white. Thanks
Yes!
I made these from my own head a while back(meaning no internet/friend help) lol and my wax cracked after a couple weeks any idea why??
I am not sure why that would have happened.
I wonder if hot glue drips would work?
That’s a good idea to try!
Why do you use coconut oil? And can I substitute that with another oil?
I have never used another oil for the process.
Hello! I made these candles today using your information as my guideline. I think they turned out fantastic! I added fragrance oil to the mixture (Balsam and Cedar) to see if I could get a bit of fragrance added to the “candles” as they will be placed onto my Christmas tree.
This was my first time playing with wax and fragrance oils. It was a lot of fun!
Your recipe says “1/4 coconut oil”. Is it 1/4 cup, teaspoon or tablespoon???
I did mine just a bit differently! I used a hot glue gun to add the driplets of wax down the sides of the candle, then spray painted the candle the color I wanted the final product to be. As the paint was drying, I sprinkled cinnamon onto parts of it to give it that primitive look. Worked great!
I made clip-on faux tree candles years ago when I found old small brass clip holders. The “candle” was a dowel cut to candle size. Hot glue was the drips at the top, then painted whole candle off white with craft paint. Drilled a whole in the top and inserted black coated wire for the wick. They look great on a small tree. Obviously this doesn’t give you light, but the general idea should work on these
candles too